ORDER IN TIME FOR MOTHER’S DAY – Learn More
ORDER IN TIME FOR MOTHER’S DAY – Learn More

Maybe you’ve seen a few folded faces at our retail locations. These little fox critters (Fox Fact—a group of foxes is called a skulk or leash) are a fun way to bring a smile to someone’s face. All you need is a square of paper and a little patience. And maybe a pen if you want to be fancy and draw a little nose on!
This is an intermediate origami creation from keepfoldingon (and you can find a more detailed set of instructions on their site), but if you want to get started with something a little easier check out these simple folds (there’s even a Pikachu!)
Steps:
1. Start with a square piece of paper. If you don’t have one, you can measure and cut the paper to the shape you need. Then fold the paper in half diagonally, from one corner to the other.

2. Next, fold one corner down in half.

3. And fold that corner back up.
Fox Fact: Even though they are part of the dog family, foxes can retract their claws like a cat (and they’re the only member of the dog family that can do so!)

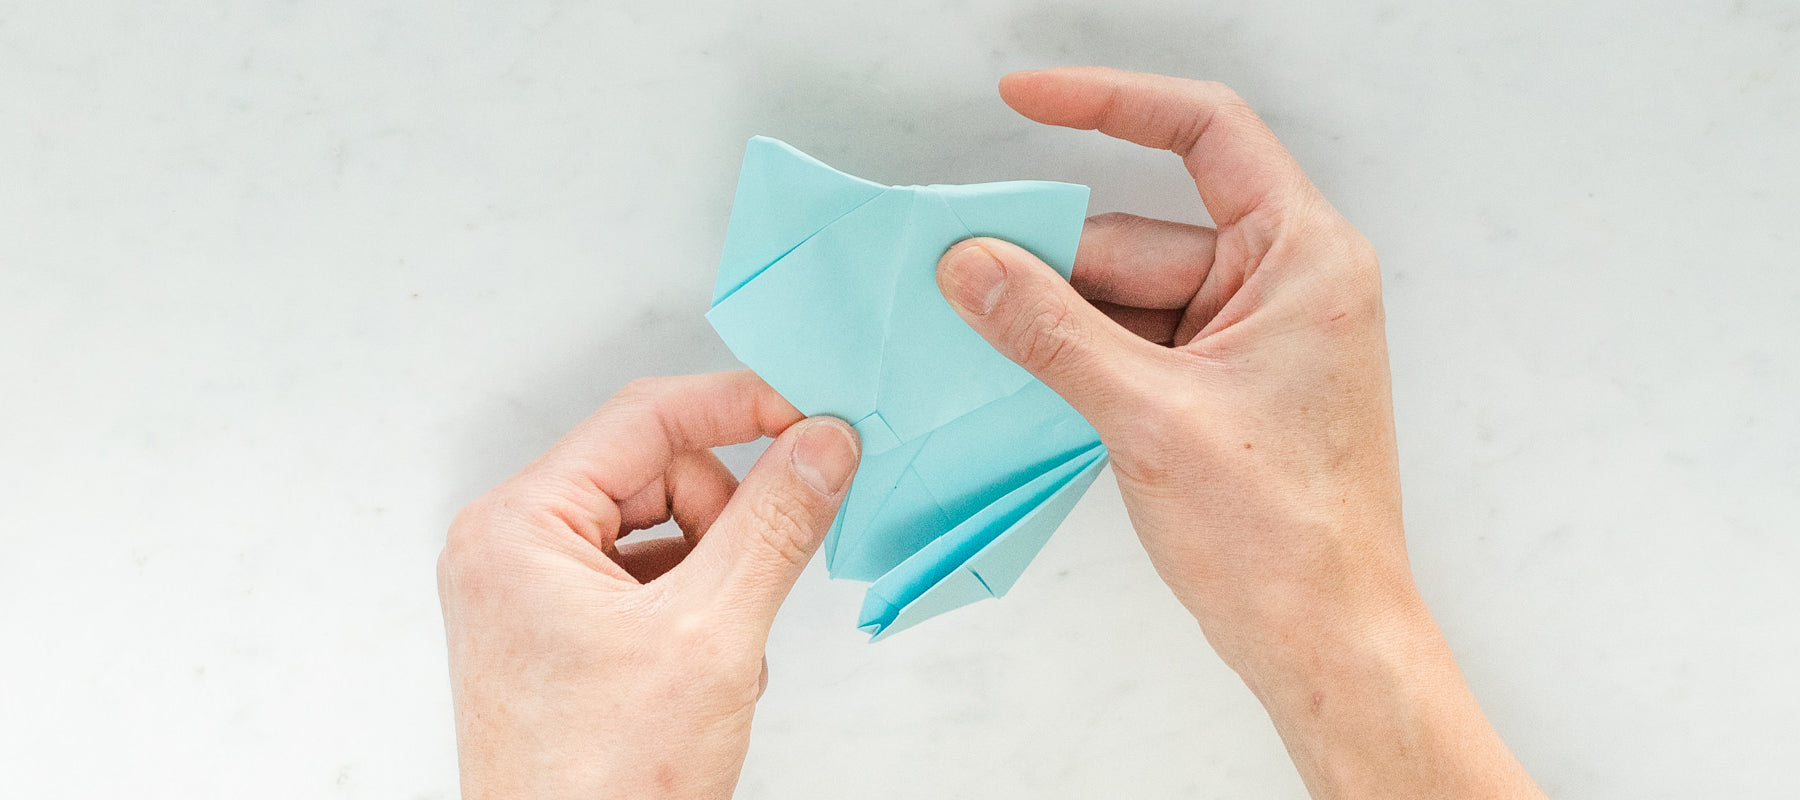
4. Create an inner crimp by creasing each side of the paper, then flatten the creases.

5. Turn the paper over and fold.
Fox Fact! Foxes are the most widespread species of wild dog in the world.

6. A little tricky here...you now need to pull open that fold, squish it down, and flatten it to make the face.

7. Then bring the bottom corners up to meet the face.
Foxy... In Latin, a red fox is called “Vulpes Vulpes”

8. Tuck those folds under the fox’s head. (It’s starting to take shape!)

9. Fold the corner end down.
A fox can hear a watch ticking from 36.5 metres (120 feet) away.

10. Next, fold that top down and tuck it under the head and leg.

11. And fold that tail up towards the head.
Foxes are chatty! They use 28 different types of calls to communicate with each other.

12. Squash that tail down, then open up the bottom point. Then you’ll need to pull out and fold the inner flap at the crease line.

13. Fold that tail upwards.

14. Fold the nose upwards.

15. Gently push the creases of the head in to create shape at the top of the head and sides.

16. Add a little flair by colouring in the nose. Then you’re done! Again, this is an intermediate project. Find more detailed instructions here.

Comments will be approved before showing up.